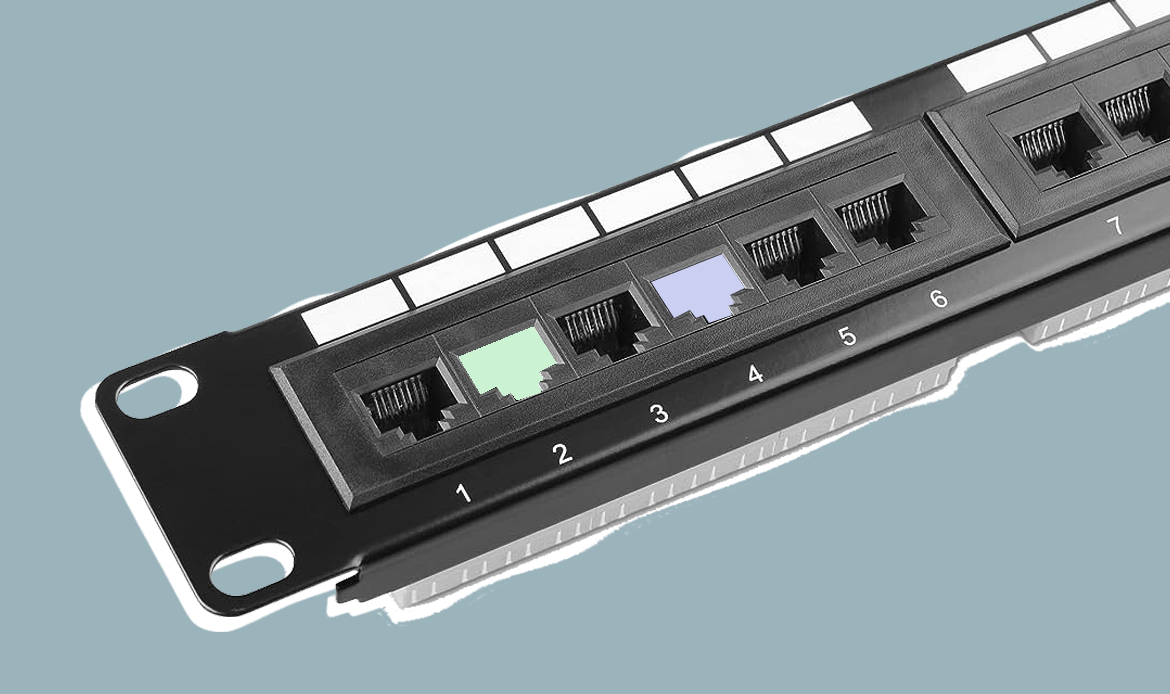
What is a patch panel?
A patch panel is essentially a panel with a number of ports on it (typically with 12, 24, or 48 ports). Each port has a patch connection that links it to another port in another part of your building.
What is the purpose of a patch panel?
The most popular kind of patch panel is utilized within a company’s LAN. A patch panel organizes large amounts of cables, allowing flexible connectivity into network hardware found in a data center or network closet.
Why are labeling ports important?
Labeling patch panel ports is a crucial step in ensuring an organized and efficient network infrastructure. By clearly identifying each port on the patch panel, IT professionals can easily identify and troubleshoot connectivity issues, streamline cable management, and save valuable time during maintenance or upgrades.
The importance of labeling patch panels cannot be overstated. Without proper labeling, tracing cables becomes a daunting task that can lead to confusion and delays in resolving network problems. A well-labeled patch panel port allows technicians to quickly identify the source of an issue, whether it’s a faulty connection or a misconfiguration.
Moreover, accurate labeling enables efficient cable management. With clear identification of ports on the patch panel, cables can be neatly organized and routed without any guesswork. This not only improves aesthetics but also reduces the risk of accidental disconnections or damage to cables.
Labeling also plays a vital role during system upgrades or expansions. When new devices need to be connected or existing connections need to be modified, labeled patch panels make it easy to locate the appropriate ports for making changes without disrupting the entire network.
What is the ultimate way to label a patch panel port?
The Closet-to-Port model is the best way to label your patch panel ports. It gives the best flexibility and can fit any type of business IT infrastructure. It includes 3 data points to help you identify the location of the port. First set of numbers is the closet identity, for example the MDF (Main Distribution Frame) you use double zeros (00), for every IDF (Independent Distribution Frame) give it a number (IDF 1 = 01, IDF2 = 02, etc.). Second, give each patch panel a letter starting with A (Patch Panel 1 = A, Patch Panel 2 = B, etc.). Third, give each port a unique double-digit number starting with 01 [if you have over 100 ports, start with 001].
Here are a two examples of the labeling in action:
- 00-B-03 = This port is wired to the MDF on the second patch panel in slot 03
- 02-A-56 = this port is wired to the 2nd IDF on the first patch panel in slot 56
The most important aspect is to stay consistent, because changing or not following a standard operating procedure can become a big problem when troubleshooting or expanding your network. Making it easy to trace cables can save a ton of time and frustration.
Labeling patch panels is an essential practice for any organization that values efficiency and reliability in their network infrastructure. It simplifies troubleshooting processes, enhances cable management practices, and facilitates seamless system upgrades. Investing time in proper labeling now will undoubtedly save valuable time and resources in the long run.
How can Cenetik help you manage label patch panel ports?
Cenetik makes it easy to track and manage your patch panel inside the documentation section. You can document each port on the patch panel in your network closet to help make it even faster to trace the root of the problem. By finding the right patch panel and what devices are connected you can resolve IT issues faster.